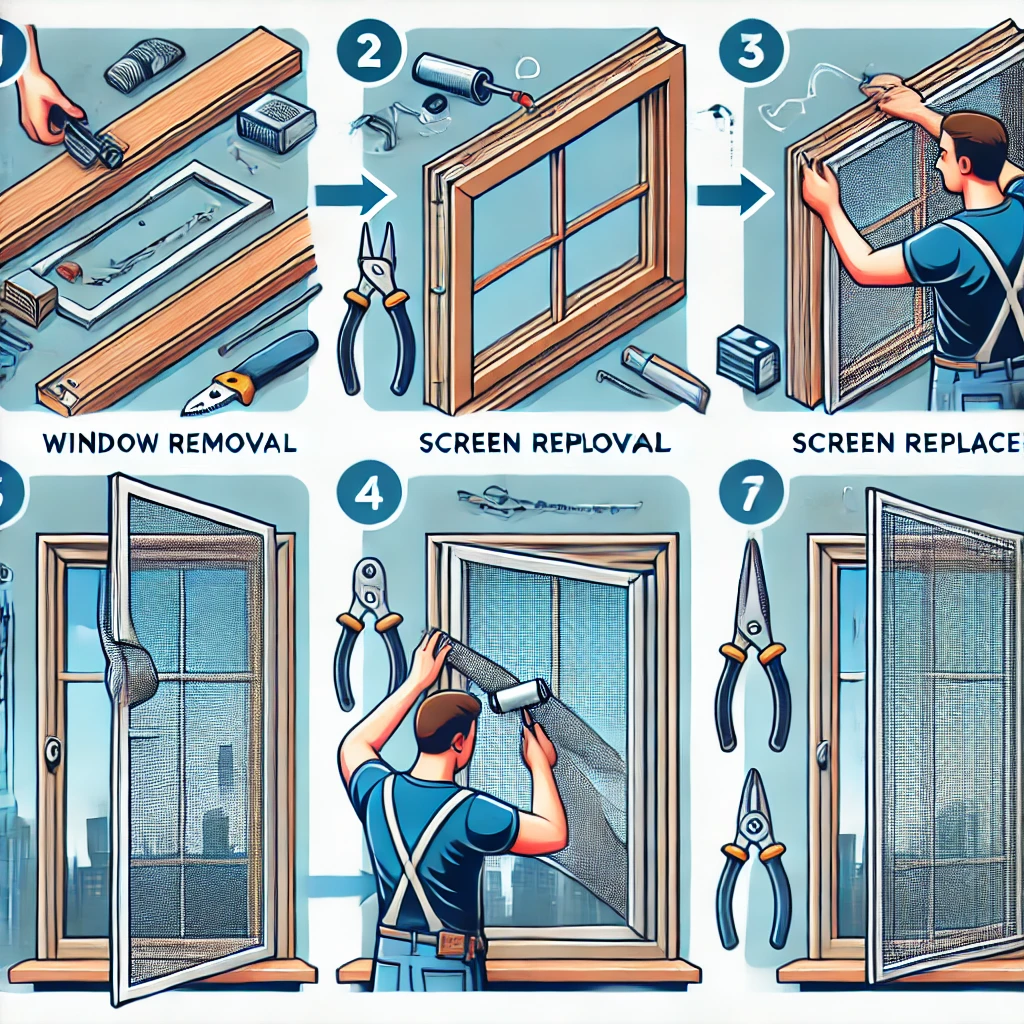
How to Remove and Replace a Milgard Window Screen without Tabs
At San Diego Window Replacement, we understand that removing and replacing a window screen on your Milgard window can seem daunting, especially if the screen has no tabs. However, with the proper steps, the procedure can be straightforward and efficient. Here is a comprehensive guide on how to remove and replace a Milgard window screen without tabs.
Identify Your Milgard Window Model
First, it’s essential to identify what type of Milgard window you have. Depending on the model, the screen removal technique can vary. Begin by closely examining the window screen. Unlike traditional screens with tabs, Milgard’s newer models feature a sleek design with no visible tabs. This design, while visually appealing, requires a unique approach for removal and replacement.

Tools You’ll Need
- Flat, thin tool (putty knife or flathead screwdriver)
- Mild soap and water
- Soft brush
Step-by-Step Guide to Removing the Screen
- Start by Gently Sliding a Tool: Insert a flat, thin tool into the gap between the window frame and the screen frame. Work slowly to avoid damage.
- Pry the Screen Frame Away: Carefully pry the screen frame away from the window frame. Do this from several points around the screen to completely dislodge it.
- Inspect for Wear and Tear: Once removed, inspect the screen for any damage. This is the perfect time to replace it if needed.
Cleaning and Replacing the Screen
- Clean the Screen: If reusing the same screen, clean it thoroughly with a mild soap and water solution. Use a soft brush to remove dirt and debris. Ensure it’s scorched before reinstallation.
- Align the Screen Frame: To replace the screen, align it with the window frame and press it evenly along all sides to fit snugly into the groove. Without tabs, it relies on friction and precise placement to stay secure.
- Adjust If Necessary: If the screen feels loose, use the flat tool to adjust its positioning until it fits securely. Improper installation can result in gaps that could let in insects or debris, so take the time to ensure the screen is seated correctly.
Troubleshooting and Professional Help
If you encounter difficulties or prefer professional assistance, San Diego Window Replacement is here to help. Our team of experts specializes in the proper removal and replacement of Milgard window screens, ensuring each task is handled with the utmost care and precision. Contact us for more information on window screen replacement and other Milgard window services.
Removing a Window Screen: A Quick Recap
- Gather Tools: Flat-head screwdriver and work gloves.
- Inspect the Frame: Understand how the screen is held in place.
- Loosen Clips: If there are clips, gently pry them loose.
- Slide the Screen: Open the window slightly and slide the screen towards the center.
- Inspect and Clean: Check for damage and clean the screen if reusing.
- Replace the Screen: Align and secure the screen back in place, reattaching any clips or screws.
Regular Maintenance
Regular inspections and cleaning of your window screens can prolong their life and keep your Milgard windows in optimal condition. Use a gentle vacuum or a soft brush to clear dirt and dust regularly.
Additional Tips
- Routine Cleaning: Prevent dust accumulation by cleaning your screens regularly.
- Professional Services: For comprehensive window maintenance, San Diego Window Replacement offers expert services to keep your windows and screens in top shape.
Contact Us
For more detailed guides on window screen removal and replacement, reach out to San Diego Window Replacement. We provide top-notch services and are here to help with all your window maintenance needs.
Conclusion for Milgard Windows
Regular cleaning and proper replacement of window screens are essential for maintaining the performance and aesthetic of your Milgard windows. Trust San Diego Window Replacement for all your window maintenance needs.
