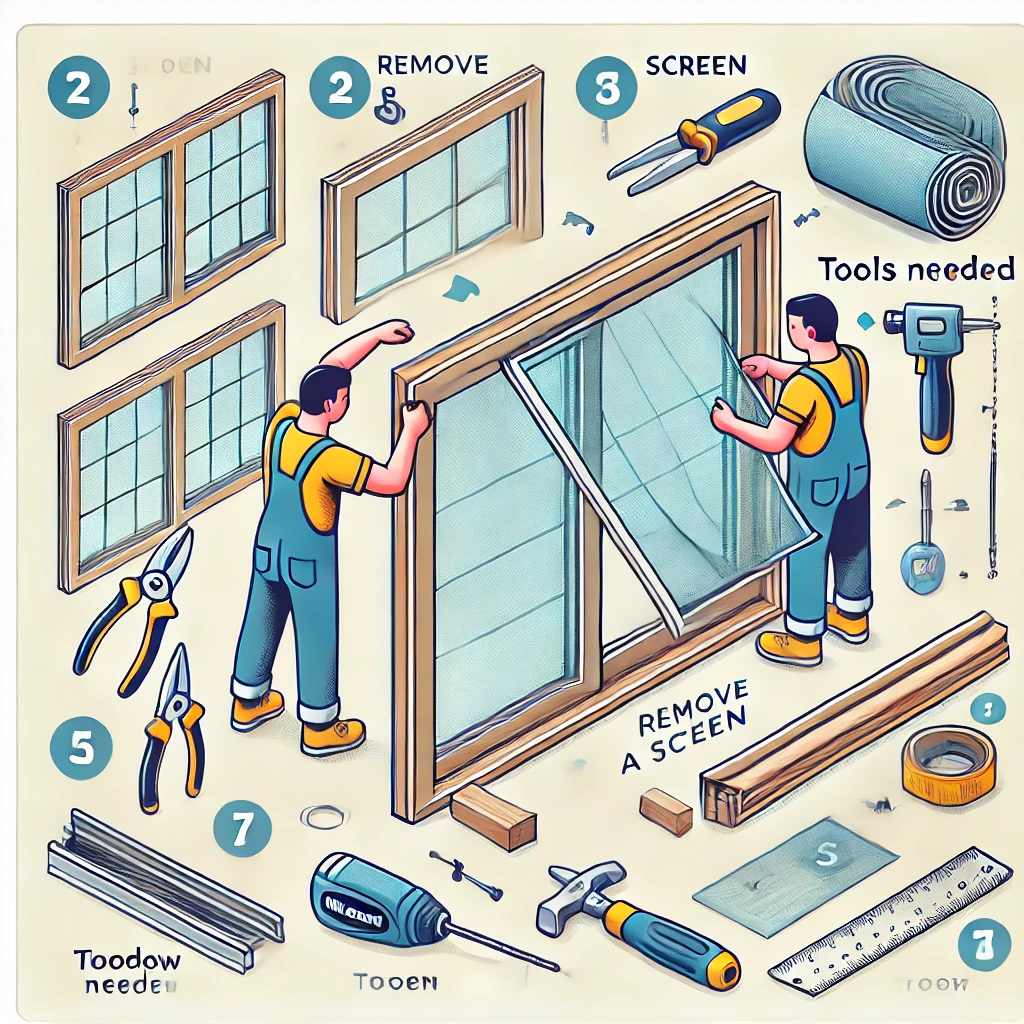
Why Remove and Replace a Screen on Milgard Vinyl Windows?
Are you looking to tackle the project of removing a window screen on your Milgard vinyl windows? At San Diego Window Replacement, we’re here to guide you through this process. Whether you’re replacing your old screens or need to clean them, knowing how to remove window screens can be a handy skill. Here, we’ll provide detailed steps and resources to help you handle the removal and replacement of window screens for Milgard windows.

Step 1: Identify Your Milgard Window Screen Type
First, identify the type of screen on your Milgard windows. Most Milgard vinyl windows use screens with pull tabs. These tabs are usually located at the bottom corners of the screen.
Step 2: Remove the Screen
To remove the screen, gently pull the tabs while lifting the screen out of the frame. Make sure to use two hands to avoid bending the frame. If the screen doesn’t come out quickly, check for any additional screws or fasteners that might be holding it in place.
Step 3: Inspect the Screen for Damage
Once the screen is out, inspect it for any damage. If the screen itself is torn or the frame is bent, you may need to replace it. Utilize our extensive resources on San Diego Window Replacement to find the right replacement screen for your Milgard vinyl windows.
Step 4: Clean or Replace the Screen
If the screen is undamaged, you can proceed to clean it. Use mild soap and water to clean the screen gently. For replacement, ensure you have the correct size and type for your window.
Step 5: Reinstall the Screen
Reinstallation is just as simple: start by aligning the new screen with the frame, then gently press it back into place, ensuring the pull tabs are accessible.
Detailed Steps for Screen Removal on Milgard Windows
Step 1: Open the Window Fully
Open the window to its full extent to get a clear view of the screen frame. For Milgard windows, gently press the screen frame to detach it from the window track.
Step 2: Identify and Release Fasteners
Check if your specific window screen type has any clips or fasteners that need releasing. Lift the screen from the bottom while gently pushing it outward.
Step 3: Support the Screen
Once it pops out of the frame, support the screen to avoid damaging the glass. Watching a demonstration video can provide visual guidance, ensuring you don’t miss any crucial steps.
Step 4: Store the Screen Safely
After you’ve successfully removed the window screen, store it in a safe place to avoid any damage during cleaning.

How to Remove and Replace a Screen with Pull Tabs
Step 1: Locate the Pull Tabs
Start by locating the pull tabs on the window screen. These tabs are typically found on either side of the screen and are designed to make removal straightforward.
Step 2: Remove Objects Blocking Access
Ensure that you have removed any objects obstructing your access to the windows. Use both hands to pull the tabs towards the center of the screen gently.
Step 3: Lift and Remove the Screen
Lift the screen away, being mindful not to bend the frame. Set the screen aside on a flat surface to avoid any damage.
Step 4: Align and Insert the New Screen
When it comes to replacing the screen, align it correctly with the window frame. Insert the new screen into the track at the top of your Milgard window and make sure it’s an exact fit.
Step 5: Engage the Pull Tabs
Engage the pull tabs into the designated slots, then slide the remaining edges of the screen gently into the frame. Check to confirm that the screen is secure.
Tips for Reinstallation of Window Screens
Tip 1: Clean the Frame and Channel
Ensure the screen frame and the corresponding window channel are entirely free of debris.
Tip 2: Align the Screen Properly
Carefully align the top part of the screen with the designated slots on the window frame. With gentle pressure, firmly push the top portion of the screen into place while making sure the sides are evenly aligned.
Tip 3: Use Pull Tabs Correctly
Using the pull tabs, maneuver the screen so the bottom edge lines up with the lower channels on the window.
Tip 4: Check the Screen’s Stability
For a secure fit, lightly push the screen frame into the channel until you hear a click, indicating it’s locked in place. Ensure all sides rest evenly along the window frame and there’s no gap between the screen and frame.
Conclusion: Maintaining Your Milgard Window Screens
Remaining vigilant about alignment and cleanliness can significantly extend the lifespan of all Milgard window screens, ensuring they function effectively. For more comprehensive tips and guides, continue to view our website. San Diego Window Replacement offers expert advice on maintaining and reattaching all types of Milgard windows. By following these tips, you’ll ensure your Milgard windows are well-protected and continue to enhance the look and function of your home.
Call to Action
For any further assistance or to find the perfect replacement screen for your Milgard windows, contact San Diego Window Replacement today. Explore our range of services and resources to keep your windows in top condition.
