
Ease Your Way into DIY: A Comprehensive Guide to Aluminum Window Installation
Installing new windows in your home not only enhances the aesthetic appeal but also improves energy efficiency. Aluminium windows are a popular choice due to their durability, low maintenance, and sleek, modern appearance. If you’re keen on the DIY route, here’s a comprehensive guide to help you install aluminium windows effectively.

Preparation: Tools and Measurement
Contents
Before you start, ensure you have the necessary tools, including a drill, screwdriver, spirit level, set square, silicone sealant, measuring tape, and protective gloves.

Begin by measuring the width and height of the window opening. When recording these dimensions, it’s essential to measure at multiple points as the dimensions can vary. This will help you ensure that the window fits perfectly into the hole.
Removing the Old Window
To make space for the new window, you’ll probably need to remove an existing window. Carefully detach any hardware and gently pry the window from the frame. Remember to wear protective gloves to prevent any injuries.
Installing the New Window Frame
When you’re ready to install the aluminium window frame, double-check your measurements. Once confirmed, place the new frame into the opening. Use packers to adjust the frame’s position and ensure that the window is level.
Check the frame with a spirit level to make sure it’s both horizontally and vertically straight. If it’s off, you can correct it by removing and reinserting the packers. It’s crucial to do this before moving onto the next step as an uneven installation can lead to problems with opening and closing the windows.
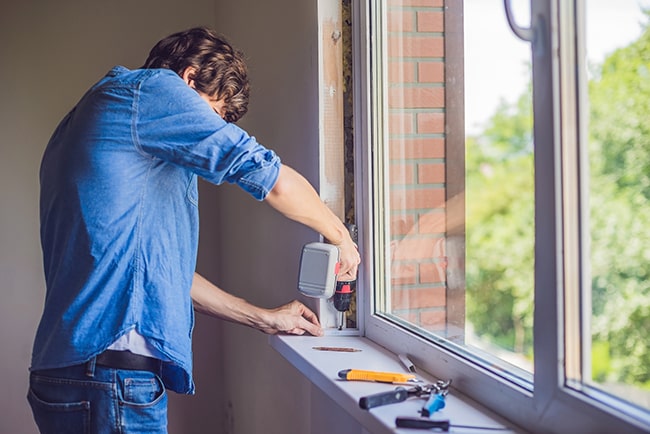
Securing the Window Frame
Once the window frame is level, it’s time to secure it. Drill holes into the sides of the window frame, ensuring they align with the pre-drilled holes in the window itself. Then, use screws to fix the window frame to the wall.
Inserting the Window Sash
With the frame secured, you can now insert the window sash. Slide it into the frame and ensure it fits correctly. Depending on the type of window you want to install, this step may vary.
Sealing and Insulation
To prevent water infiltration and enhance energy efficiency, you’ll need to seal the gap around the perimeter of the frame and the wall. Apply a bead of silicone sealant around the exterior of the window frame. You can also use expanding foam insulation inside the gap for an added layer of insulation.
Final Checks
After the sealant and foam have dried, double-check that the windows are installed correctly. The windows should open and close easily without any obstructions. Also, check from both the inside and outside to ensure the window is flush with the wall.
In conclusion, while installing aluminium windows might seem like a daunting task, with the right preparation and steps, it’s a manageable DIY project. However, if you find yourself encountering any issues or uncertainties during the installation process, it’s best to contact a professional installer or your supplier.